How to set a password to protect wp -admin in WordPress
2025-03-19 10:34:30
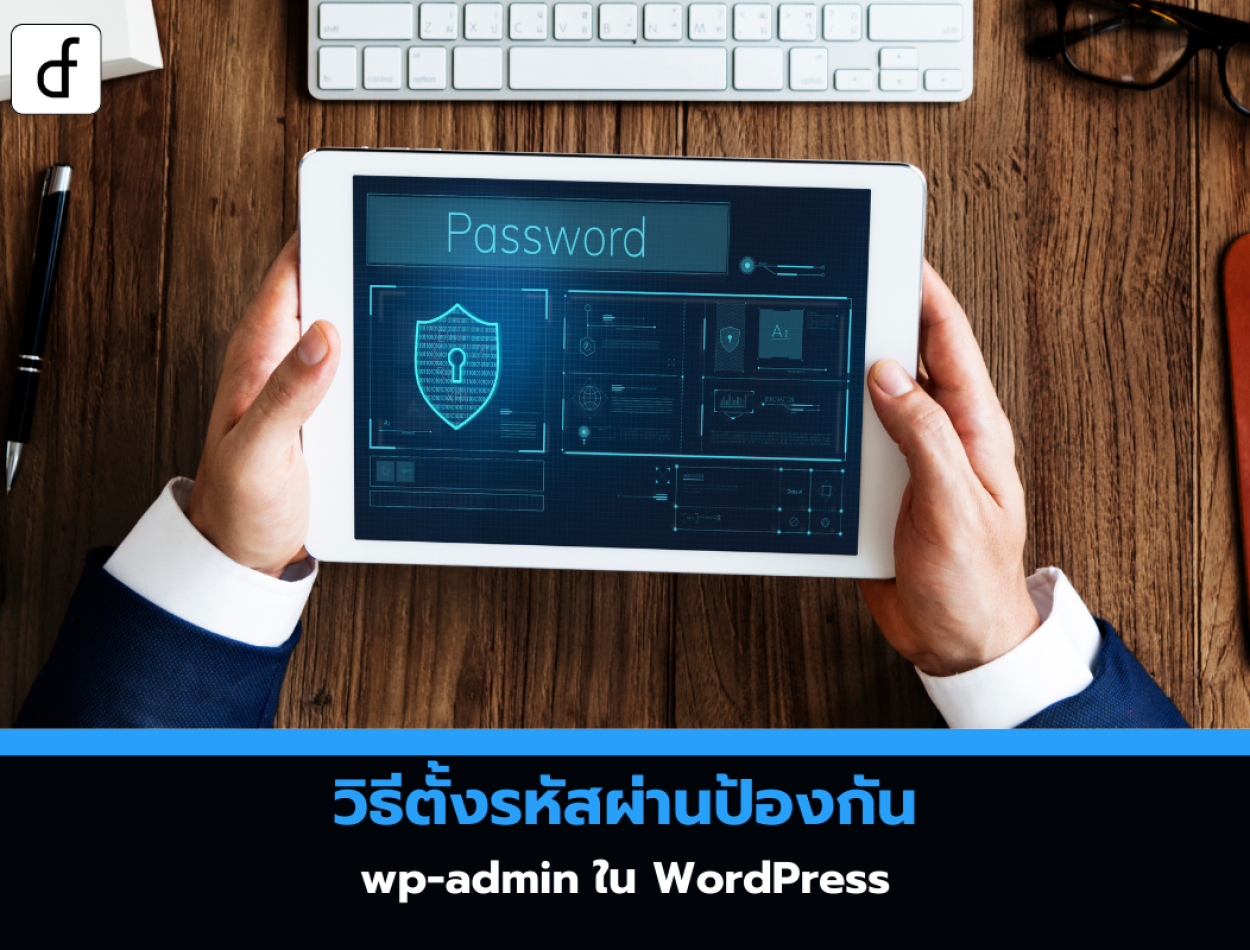
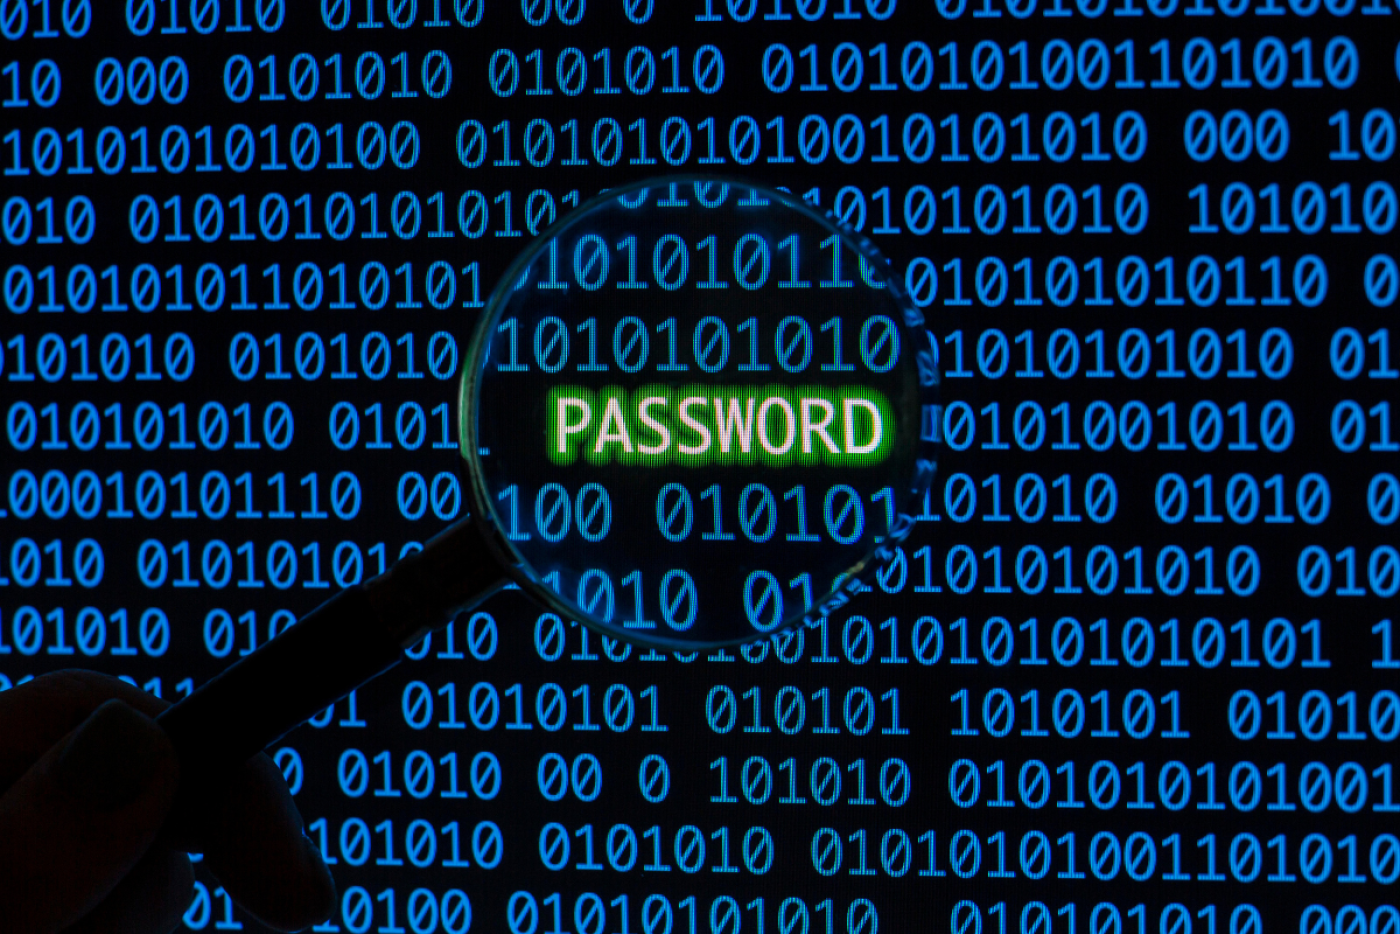
Why do we need to set a password to protect the wp-admin directory?
The wp-admin directory is the central hub for managing your WordPress website, whether it's writing articles, setting up themes, installing plugins, or customizing the website's functionality. This makes it a primary target for hackers attempting to access it using brute force attacks.
Setting a password to protect the directory wp-admin is another method that helps enhance website security. Users who want to access this section must enter a username and password before reaching the WordPress login page.

Method 1: Set a password to protect wp-admin via cPanel (recommended)
1. Log in to the cPanel of your hosting provider
2. Go to "Directory Privacy" in the "Files" section.
3. Search for the wp-admin directory
- Click on the public_html folder (or the main folder of your website).
- Click the folder that matches the domain name of the website.
- Select the wp-admin folder and click "Edit".
4. Enable password setting
- Tick "Password protect this directory"
- Name the directory (e.g., "Admin Area")
- Click "Save"
5. Set a username and password for access
- Enter the desired username and password.
- Save this information in a secure place (e.g., a password manager app).
- Click "Save"
Now When someone tries to access the wp-admin directory, the system will prompt for a username and password before reaching the WordPress login page.
Method 2: Set a password to protect wp-admin with code (for advanced users)
If your hosting does not have the "Directory Privacy" option, you can set it up with .htaccess and .htpasswd files.
1. Create a .htaccess file
Open a text editor (such as Notepad) and create a file named .htaccess by adding the following code:
AuthName "Admins Only"
AuthUserFile /home/user/public_html/example.com/wp-admin/.htpasswd
AuthGroupFile /dev/null
AuthType basic
require user yourusername
Note:
- Edit /home/user/public_html/example.com/wp-admin/.htpasswd to match the location where you will upload the .htpasswd file.
- Change yourusername to the username you want.
Save the file and upload it to the wp-admin folder.
2. Create a .htpasswd file
Use an htpasswd generator (such as an online htpasswd generator) to create an encrypted password. Then, copy the resulting output and save it as a .htpasswd file, for example:
yourusername:$apr1$randomhashgenerated
Upload the .htpasswd file to the wp-admin folder.
Now When someone tries to access the wp-admin directory, the system will prompt for a username and password before reaching the WordPress login page.
Problem-solving in case of an error
1. Ajax has stopped working
Some WordPress plugins require Ajax to function. If you find that Ajax is not working after setting up the protection, add this code to the .htaccess file located in wp-admin:
<Files admin-ajax.php>
Order allow,deny
Allow from all
Satisfy any
</Files>
2. Error 404 or Too Many Redirects
If you encounter the "404 Not Found" or "Too Many Redirects" error, open the main .htaccess file of the website (not the one uploaded to wp-admin) and add this code before the WordPress rules:
ErrorDocument 401 default
Setting a password to protect the wp-admin directory is an effective way to enhance the security of your WordPress website. You can choose the most convenient method, whether through cPanel or by using .htaccess and .htpasswd code.
If you encounter issues during setup or have errors, you can use the troubleshooting code recommended in this article to help the system function correctly.
Leave a comment :
Recent post

2025-01-10 10:12:01


2024-05-31 03:06:49

2024-05-28 03:09:25
Tagscloud
Other interesting articles
There are many other interesting articles, try selecting them from below.
2024-09-23 02:48:44

2024-02-21 04:37:44

2023-11-22 01:58:55

2023-09-14 03:30:33

2024-04-30 03:29:35

2023-10-25 05:16:47

2024-08-07 09:32:42

2023-10-09 03:59:28

2024-12-03 01:14:34